Are you thinking about walking the Via de la Plata in Spain, but you don’t know how to plan for it? You came to the right place. In this guide, I’ll go over everything you need to know before walking the Via de la Plata, a wonderful Camino de Santiago starting in Sevilla.
This page contains affiliate links. If you buy through these links, I may receive a small commission, at no additional cost to you. I only recommend products or services I have tried and/or find useful and reliable.
- Why walk the Via de la Plata?
- Via de la Plata Stages
- When to walk the Via de la Plata
- Where to Start Walking the Via de la Plata
- Where to get the Pilgrim Passport (credencial)
- Where to get the sellos on the Via de la Plata
- Where to stay on Via de la Plata
- What to pack
- Useful apps and websites
- A few more tips for walking Via de la Plata
- Final words: Embrace it all
The Via de la Plata was my first Camino, an unusual choice for a first-timer, or so I’ve been told by the people I met along the way. Unlike other Caminos, like the popular Camino Francés (French Way), the Via de la Plata can be a bit tricky from a logistics standpoint. With longer stages and fewer services, this is a route people usually walk after having some experience with other Caminos.
As I kept walking and talking to people, I only met a couple of other pilgrims walking the Via de la Plata as their first Camino de Santiago. Most pilgrims had already walked at least one Camino, if not more. Their usual reaction when they heard that it was my first Camino was bewildered. “Why this one?”
Why walk the Via de la Plata?
You, too, may ask: What made me choose this as my first Camino de Santiago?
I had three reasons.
Firstly, I wanted a less popular (read less crowded) route. While I wanted to meet people, I had heard the French Way could be quite crowded and competitive (later confirmed by many pilgrims I met). I didn’t want to deal with the stress of waking up super early and rushing to find accommodation. I wanted to take it slow and yes, meet some people, but also spend some time alone with my thoughts.
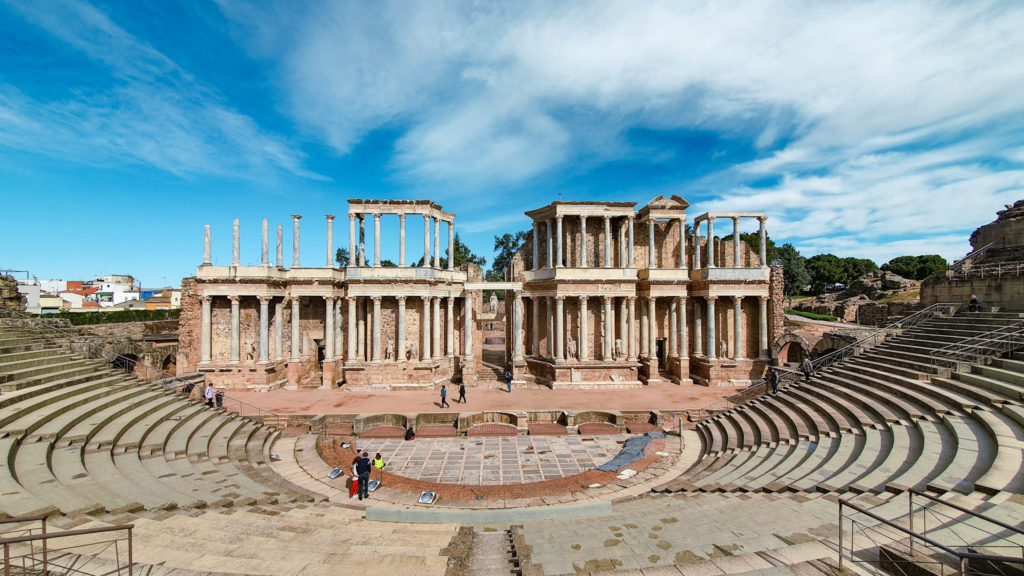
The second reason was that the Via de la Plata crossed a part of Spain I had zero familiarity with, and I wanted to explore it. I wanted to discover more of Andalucía (I had only been to Sevilla once), walk through the remote areas of Extremadura, and stop in the beautiful cities of Mérida, Salamanca, and Cáceres.
Lastly, I was looking for a physical challenge, and this looked like one. With 1007 kilometers (the official length) and long stages through off-the-beaten-track areas, the Via de la Plata looked like the adventure I was seeking.
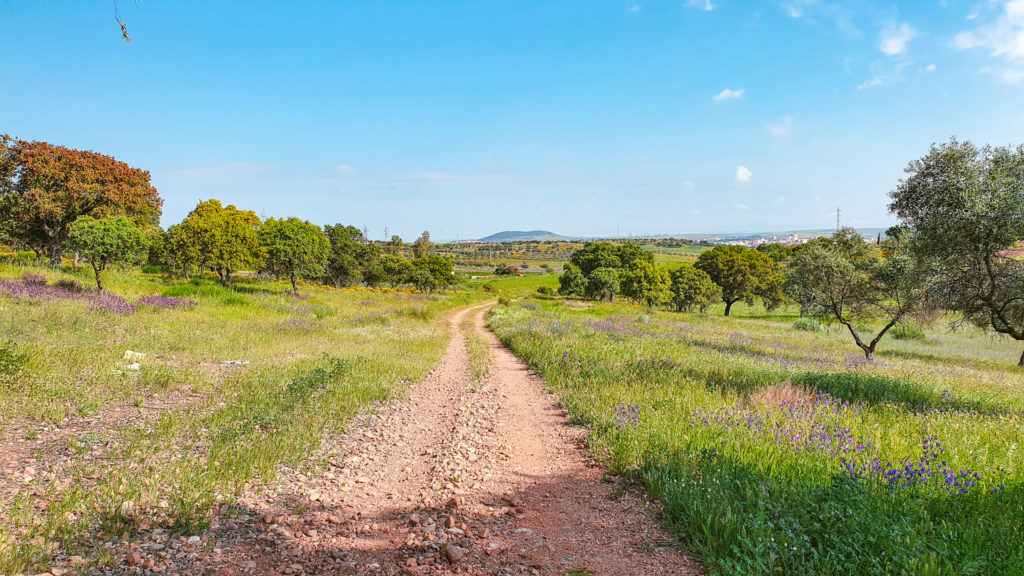
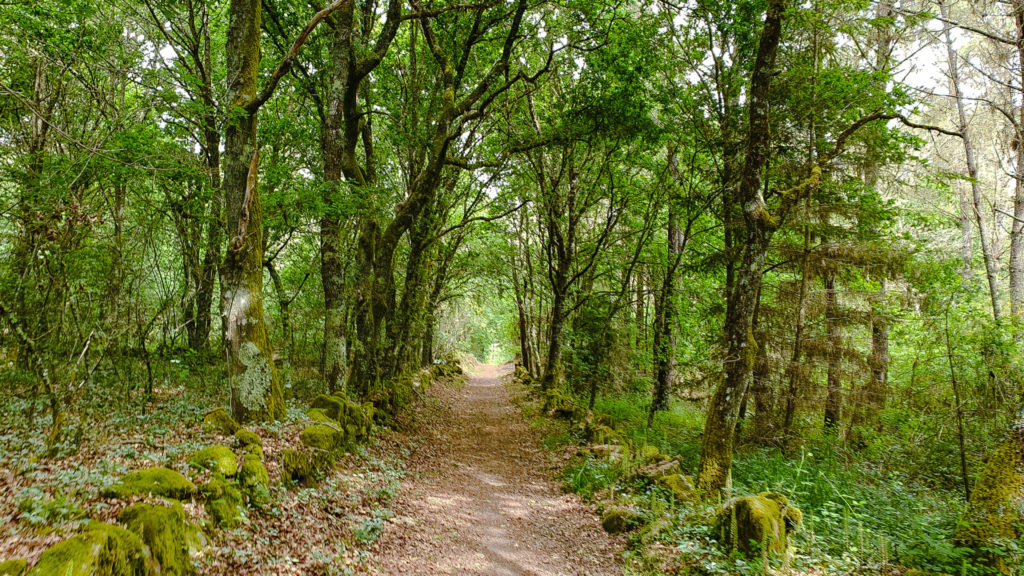
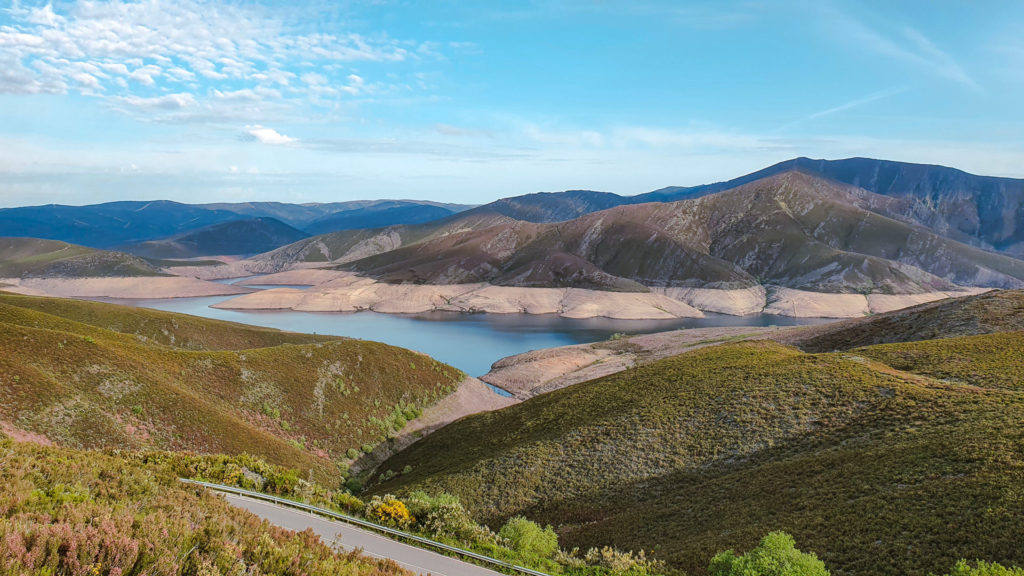
If any of these things resonate, I encourage you to walk the Via de la Plata. The route is wonderful, with breathtaking landscapes, cute little towns, large fields dotted with colorful flowers, adorable meadows, and just a few hills to test your lungs and reward you with more gorgeous views.
Before getting into the practical stuff, let me tell you that, while much of the information I provide is objective, there’s a lot of my experience in these words. Other people or guides may tell you different things, though I doubt they would differ radically. So take this as one source of information for your Camino and look into others, too. I will list a few resources at the end.
If you want to know more about my experience walking the Via de la Plata stage by stage, here are the dedicated articles:
Via de la Plata Stages
Unlike other Caminos, the Via de la Plata doesn’t leave you much flexibility in choosing your stages. Given the long stretches with nothing in between, it’s hard to improvise or decide to walk longer if one day you feel like it. Only a bunch of stages will allow you this type of flexibility. Other than that, you pretty much need to stick to the defined stages.
I’ve covered each stage with alternatives, accommodation options, dining options, and other practical information in this post. However, I’ll list here the original stages, so you get an idea of what to expect.
Toward the end, dividing the long stages gets easier. Many people choose to walk the last 100 kilometers, so that’s likely a reason why you’ll find more accommodation options. Furthermore, Galicia has more villages with shorter distances in between, unlike Extremadura or Castilla y León.
Now that you have an idea of the stages, it’s time to talk about how to plan for Via de la Plata.
When to walk the Via de la Plata
The first thing you’ll have to choose when planning your Camino de Santiago is when to start. While other Caminos may allow you more flexibility, you only have two small windows to walk the Via de la Plata.
Walk the Via de la Plata in Spring
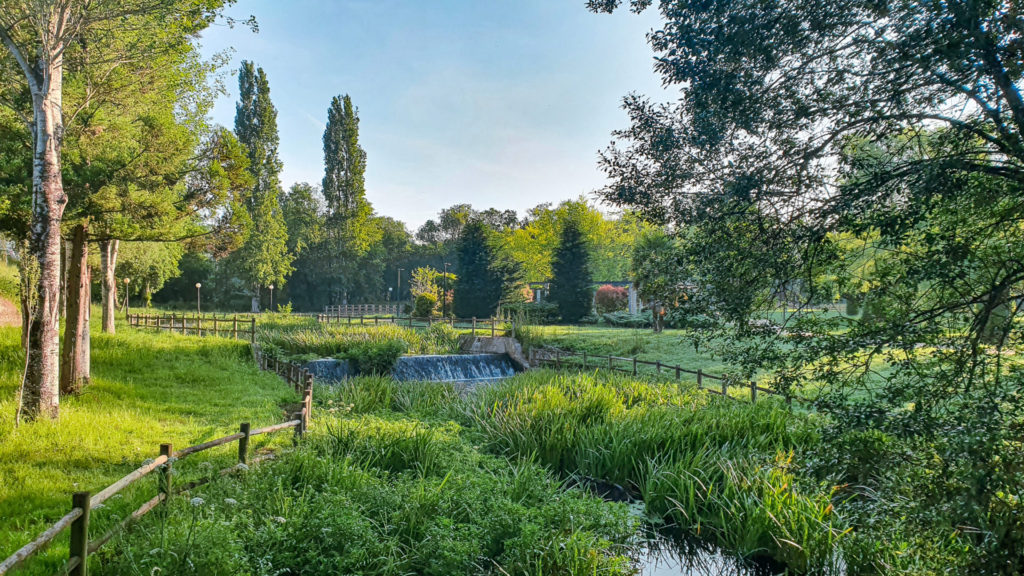
Your first choice is to walk during late spring to avoid the rain of the early spring and the heat of the summer, which starts quite early in Andalucía and Extremadura. At the same time, by the time you get to Galicia, which is notoriously rainy and colder than the rest of Spain, it’s nearly summer, so the weather is warm and not too rainy. I think this is the best choice.
I started my Camino on April 11th, and weather-wise, this was the best decision. Luckily, I had just missed the last rains and managed to stay ahead of the heat that started from the south and kept going north. The only downside for me was that I hadn’t realized how important Semana Santa is in Spain.
I started walking on Monday, the beginning of the Holy Week, a popular time for walking the Camino de Santiago. This meant some albergues got full, and some days everything was closed, from pharmacies to supermarkets.
Semana Santa aside, I had great weather throughout the rest of the Camino. It only rained a few times, probably on a total of four days out of 42. Only one day, the rain was so hard that we all decided to catch a bus. Yes, that happens. The idea that I could catch a bus even for half an hour never crossed my mind before starting the Camino. But things happen, and sometimes you must choose between staying behind or moving on, even if it’s not how you wanted it to be.
Walk the Via de la Plata in Autumn
Your second option for walking the Via de la Plata is in autumn. I cannot give you my perspective on this, but I spoke to people who managed albergues and others on the Camino, and I learned that walking in autumn is also an option. In this case, you need to find the right balance between escaping the last days of heat and not ending the Camino in winter.
Just thinking about it, walking in the autumn sounds trickier to me. When starting in spring, you gradually go north as the heat follows you, whereas in autumn, you start in a region where the heat can linger for a long time, but as you go further north, it gets increasingly colder.
I believe walking in autumn requires a bit of extra planning for what clothes to bring. You can’t start too early, or you’ll still catch hot summer-like days in Andalucia. At the same time, you can’t start too late, or it will be too cold by the time you reach Galicia. I would think late September would be the right time to start. This way, you’ll finish by the end of October or the beginning of November.
The bottom line is: opt for spring if you can. Otherwise, think things through and start in autumn, doing your best to avoid the southern heat and the cold in the north.
Where to Start Walking the Via de la Plata
The route officially starts in Sevilla and goes north until Granja de Moreruela. There, you can decide whether you follow the Camino Sanabrés or the Camino Francés.
Unlike other Caminos de Santiago, it’s easy to reach your departure point for the Via de la Plata, since Sevilla has an international airport. If you need to reach Sevilla from other parts of Spain, I recommend checking out transportation options on Omio.
You can also fly directly to Sevilla from many other European cities.
While Sevilla is the official start of the Via de la Plata, you may also start at a later stage. Many people decide to start in places like Zafra, Mérida, Cáceres, Salamanca, or Zamora. Choose your departure point based on how much time you have.
Where to get the Pilgrim Passport (credencial)
The Pilgrim Passport (in Spanish credencial) is the one thing you should ensure you have on the day of departure and guard carefully throughout the Camino. The credencial will allow you to access albergues and gather the stamps (sellos) you need to obtain the Compostela when you reach Santiago.
Getting your credencial is fairly easy, although you should plan for it in advance. For instance, if you start around Semana Santa as I did, there’s a fair chance you’ll find it a bit trickier, as many people start this Camino around this time. But worry not, you’ve got plenty of options.
I got my credencial at the Amigos del Camino association in Castellón de la Plana because I was passing through a few days before my Camino. A kind gentleman gave me the credencial and asked me about the Camino I chose and how I had prepared for it. He gave me precious advice about my backpack and told me encouraging words before wishing me “Buen Camino!”
On the official Camino de Santiago website, you can find a list of all the Amigos del Camino associations and churches that give the credencial throughout Spain and around the world. The credencial costs between €0.5 and €2, depending on where you get it.
Depending on how much time you plan on spending in Sevilla before starting your Camino, you may also decide to get your credencial there. I was arriving in the evening of Palm Sunday to start walking the following Monday morning, so I wanted to have my credencial before that.
In Sevilla, one place that I know for sure sells the credencial is Triana Hostel, a popular accommodation for pilgrims. Maybe you can contact them before getting there to be sure they have them, especially if you go during Semana Santa.
Where to get the sellos on the Via de la Plata
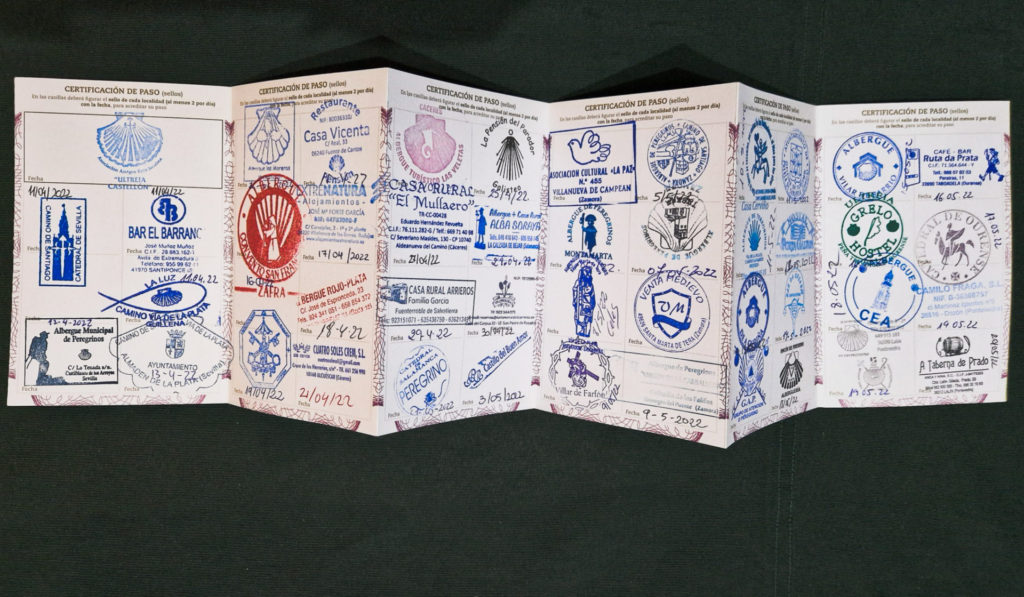
So you have your credencial and are ready to start, but where do you get the stamps (sellos)? The one place that will stamp your credencial every day is the albergue where you spend the night. Whenever you arrive at an albergue, you will need to show them your credencial to gain access, and they will automatically stamp it. So that’s your one daily sello, which is the minimum you should get.
You may read online that you need to get two stamps per day to obtain your Compostela when you reach Santiago. That is only true if you walk the last 100 kilometers or maybe just a little more. If you start your Camino de Santiago in Sevilla or even further north, in places like Zamora or Caceres, having one stamp per day will be sufficient.
wever, during the last 100 kilometers, try to get those two stamps per day. But don’t stress too much about it. If you walked 1000 kilometers, but on one or two days during those last 100 kilometers, you only get one stamp per day, you’ll still get your Compostela.
If you ever stay at accommodations other than albergues, remember to ask them to stamp your credencial. Most of them will do it automatically, but some may not. Again, missing one stamp now and then is not the end of the world, but having a credencial full of sellos is pretty cool, so do ask them.
Finally, if you want to get two stamps per day, there are many places you can ask. Most bars and restaurants along the Camino will have stamps. Some of these will only stamp your credencial if you get something there, even just a coffee.
Other places you can try are the churches. I always tried to get a stamp from the cathedrals in the main cities I walked through, like Merida and Salamanca. The reason is pretty simple and vain. Cathedral sellos are usually prettier than most albergues.
One last thing to keep in mind about the credencial and sellos is that you don’t have unlimited space. If you aim get two sellos per day and walk the entire Via de la Plata, one credencial will not be enough unless you add your stamps nearly one on top of the other. So get an extra credencial, just in case you run out of space.
I only had one credencial and got one stamp per day on most days. I managed to fill the credencial on my very last day (that was very satisfying, being the perfectionist I am).
Where to stay on Via de la Plata
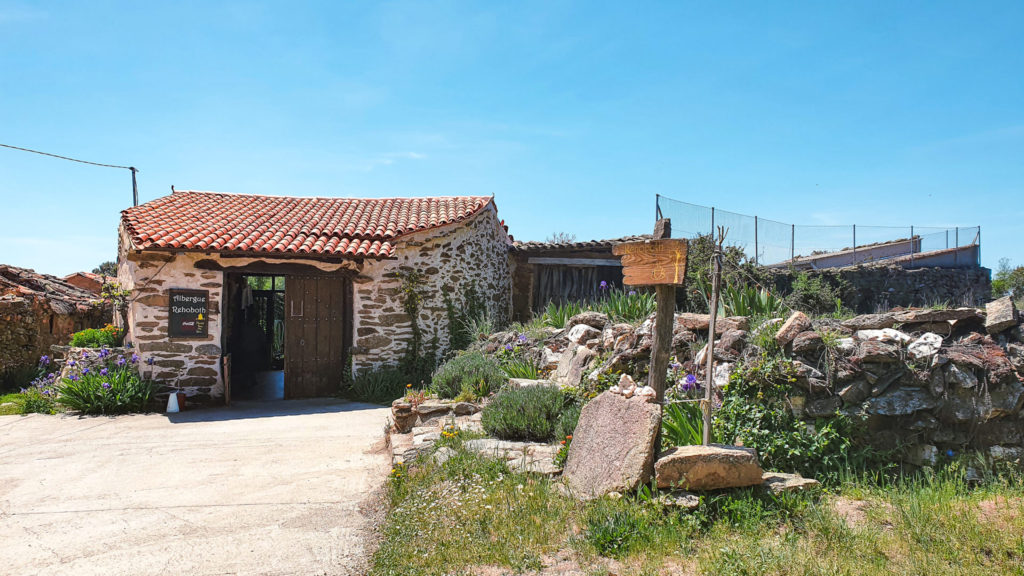
You have many accommodation options when walking the Via de la Plata, but the most popular among pilgrims is the albergues. Most towns along the Via de la Plata have a so-called albergue municipal, sponsored by the local government, therefore having the lowest prices. Other albergues are privately owned and may have a slightly higher cost, but also often a few perks, like included breakfast or communal dinners.
Alongside the albergues, which are exclusively for pilgrims, you may also stay in hostels, guesthouses, or even hotels. Your accommodation choice will likely vary depending on your budget and personal preference. Most travelers prefer to save money by staying in albergues, but that is not the only reason.
Staying in albergues allows you to meet and connect with other fellow pilgrims. Given that the Via de la Plata offers little flexibility when it comes to dividing the stages, you’ll likely meet the same bunch of people along the way, with few other pilgrims joining the Camino at later stages.
I chose to stay in albergues whenever possible, but unexpected circumstances also forced me to spend some nights in private rooms. I think allowing yourself some space and the extra comfort of a private room from time to time is also nice. You’ll likely get a better night’s sleep and some privacy that you rarely experience in albergues.
If you ever need to book a private room in advance, I recommend checking Booking.com.
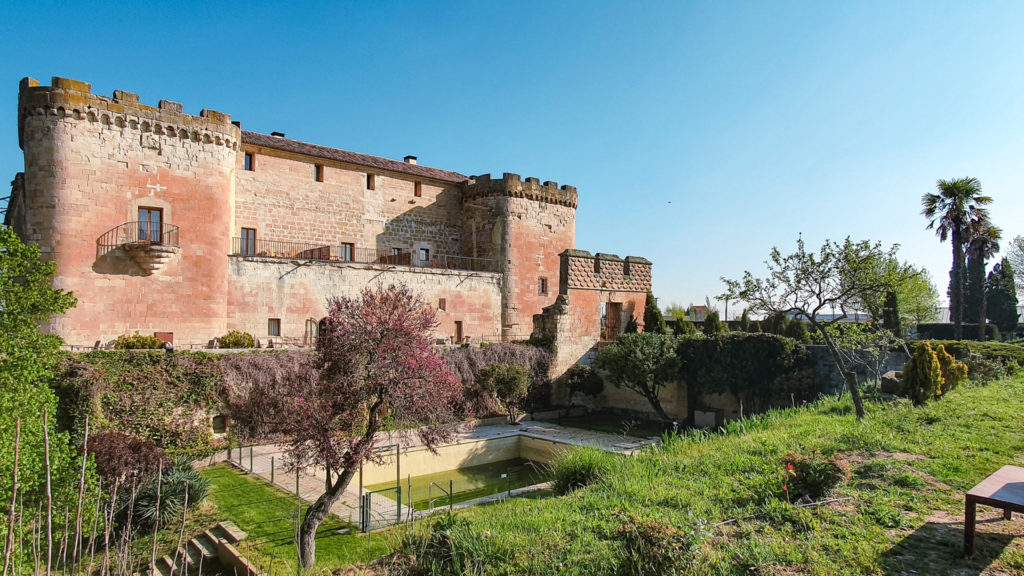
Little tip: If you get the chance, right after Salamanca, there’s a wonderful castle, Castillo del Buen Amor, where you can spend the night. It’s a bit of a detour, but worth it if you have the budget. It also makes it easier to divide the two stages after Salamanca.
What to pack
The key when packing for any Camino is: less is more. Take it from someone who, somewhat unwillingly, had a heavy bag. It may not feel heavy in the beginning, but the more you walk, the more you’ll feel the weight. Having a light backpack will make your life much easier and probably even spare you some issues like back and leg pain.
While I only brought the bare minimum when it comes to clothes, my laptop added significant weight to my pack, which you will likely avoid. One way of ensuring that you pack light is by buying a small backpack, to begin with. If you walk the Via de la Plata during late spring or early autumn, a 40L backpack will be more than enough.
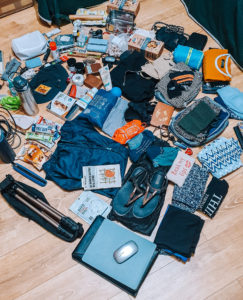
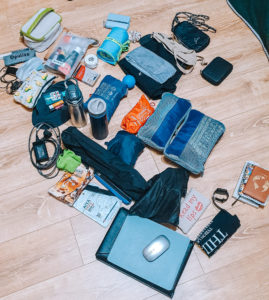
I’ll list here what I had in my backpack so you can get an idea of what you could need. I’ll add links to some of the items I used (or similar ones) in case you need recommendations. I was carrying a 30L backpack, which was enough, although if I had to do it again, I would probably carry a 40L (like this one).
Here’s a visual overview of all the stuff I carried (before and after organizing the items). I recommend using compression packing cubes to organize your backpack.
Clothes
I carried the bare minimum for walking, but I did have to take into account that I was going to continue traveling right after the end of the Camino, so I had one extra change of clothes that was not for the Camino. This only consisted of a top and a pair of shorts. For the Camino, I had the following clothes:
- 2 pairs of shorts (breathable and fast-dry)
- 1 pair of long leggings
- 1 pair of long pants
- 5 t-shirts and tops (also breathable and fast-dry)
- 2 sports bras
- 5 pairs of underwear
- 3 pairs of hiking socks (good-quality socks make a difference!)
- 1 long-sleeve thermal top (very similar to this one)
- 1 rain jacket (one that packs really small, like this one)
- 1 lightweight bucket hat
- 1 neckwarmer (buff)
- Thin shorts and a top for sleeping
I bought another thermal top at Decathlon in Cáceres because it was quite cold in the morning, so I would start walking with the two long-sleeve tops and occasionally the rain jacket. During the day, I gradually removed layers.
Shoes
This is where I made my biggest mistake, one I hope I can help you avoid. I bought ankle-length hiking boots about three weeks before starting the Camino and tried walking in them as often as I could. They felt comfortable, but I didn’t walk for more than 20 kilometers for several days in a row.
The worst part about my boots was that they were waterproof! While this may appear like a good thing, on the Via de la Plata, it’s not. The weather on this route is mostly sunny and warm. This means that your feet will get increasingly hotter as you walk. By wearing waterproof shoes, your feet won’t breathe and will inevitably start swelling. So my pair of boots, one size bigger than I normally wear, felt increasingly smaller.
As I started walking in the morning, everything felt good. But my feet would swell during the day, which caused blisters on my little toes. Because I kept walking in the same shoes, the blisters started to get infected. Without getting into the gory details, I’ll just tell you that I had to buy sandals (the kind in between your toes, the only ones I could wear), to walk in for several days, as there was no way I could wear my boots after my right little toe got infected.
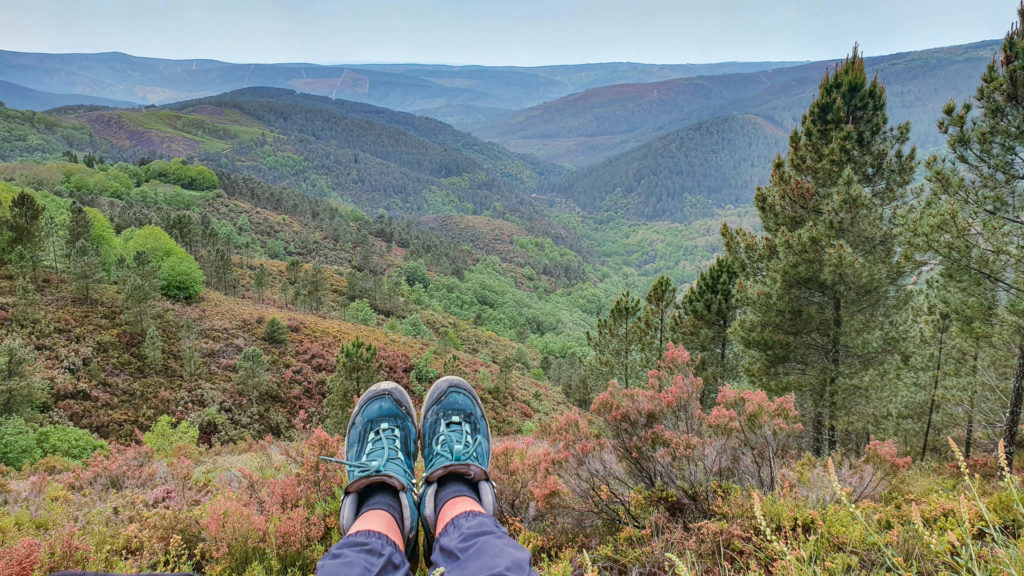
The bottom line is: buy breathable, comfortable shoes. I think even running shoes would have been better than my boots. As for the ankle support, you don’t necessarily need it on the Via de la Plata since the path is mostly flat. Avoid waterproof shoes that don’t let your feet breathe, and if possible, bring a pair of comfortable hiking sandals to switch to now and then. For my second Camino, I got a pair of Salomons, which were way better. Otherwise, Merrell has good-quality hiking shoes. I’ve seen these two brands the most on the Caminos.
I had a pair of rubber sandals for walking around town in the afternoon, but I was forced to walk in those for a few days until I bought the new ones. They also caused my ankle to swell, but that’s another story.
Toiletries and other items
Here are a few other things I carried in my bag. This list may not be 100% complete, and I don’t necessarily recommend bringing everything you see on it. However, it may give you a few ideas.
- A soap bar (lighter than shower gel and great for washing myself and my clothes)
- A shampoo bar (again, less weight than the liquid version)
- Deodorant
- Toothbrush and toothpaste
- Face cream and sunscreen (don’t forget the sunscreen!)
- SPF lip balm
- Hand sanitizer
- Hairbrush
- Sunglasses
- Headlamp (I never used but it can be handy if you leave early in the morning)
- Backpack rain cover
- Sleeping bag liner (useful for albergues that had single-use sheets)
- Hiking poles (I used them once. I abandoned one along the way, and only carried one just in case)
- A money belt (to keep my documents, cash/card, and credencial)
- A quick-dry towel
- A stainless steel lunch box (came in handy a few times, as most albergues in Galicia had no equipped kitchen)
- A foldable spork (takes literally no space, and it’s so useful, I carry it everywhere!)
- 2 water bottles (an older version of this one and a Grayl UltraPress)
- Medicine (if you need anything specific. Otherwise, you can find pharmacies along the way)
- A small first aid kit (plasters, scissors, bandages, surgical tape)
- A small notebook (I used it to write down notes about each stage)
- A portable charger (really helpful!)
- A tote bag (that I used to go grocery shopping and walk around in the afternoon)
The sleeping bag deserves special mention. I bought it last minute before starting the Camino, but my backpack was already at full capacity, so the only way to carry it was by hanging it from the backpack, which was very inconvenient. I used it a couple of times in the beginning, and then didn’t use it at all for over two weeks, so I decided to leave it behind.
When I reached Galicia, I regretted my decision. Most albergues only had single-use bedsheets and no blankets. I would cover myself with the sleeping bag liner and anything I could find, from my towel to my thermal shirts. I was really cold on a couple of nights. My advice is to find a lightweight sleeping bag and carry it.
Final packing tips
Aside from the items listed, most of which are indispensable, I also carried a lightweight tripod and my laptop (I was also working on some days). I had a book too, which I only read occasionally, and an action cam that I didn’t use (I took all videos and photos with my phone).
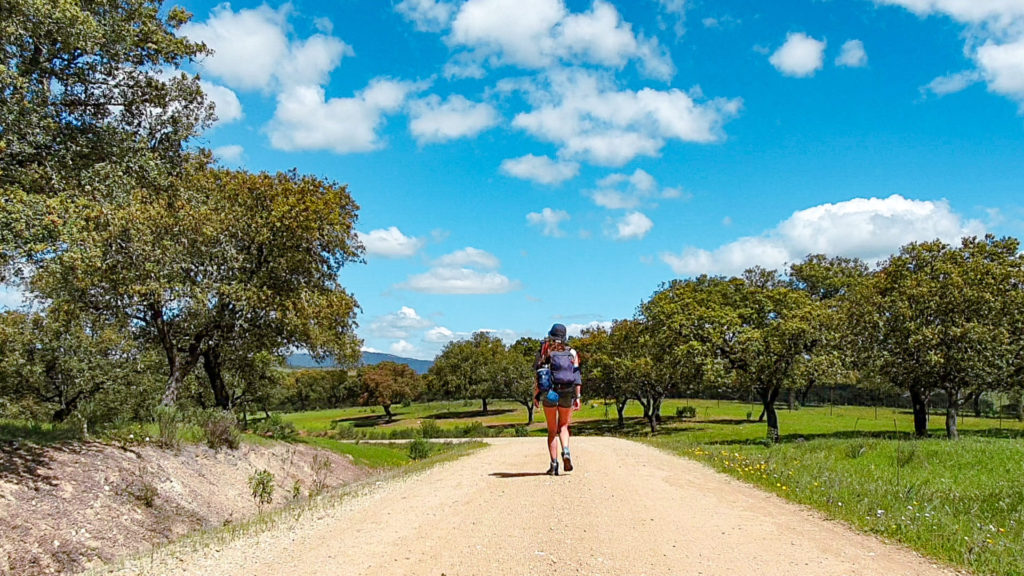
These are all non-essentials, but as you can see, I managed to fit all this in a 30L backpack. You really don’t need a lot. Aside from a couple of items, I used everything I carried, so I think I did a pretty good job.
Finally, the reason why I recommend a 40L instead of a 30L is not so you can pack more stuff. You could always use a little extra space in your bag for food. On longer stages, you won’t be able to stop anywhere for lunch, so you need to carry a sandwich and some snacks. So don’t overfill your backpack, make sure you have some room left before you start your Camino.
Useful apps and websites
If you want my very personal piece of advice, avoid bringing a physical guidebook. It’s just unnecessary weight. You’ll likely never check that book because chances are, you’ll spend more time speaking with other pilgrims and looking up updated information online.
At the beginning of my Camino, another pilgrim gave me a guidebook, but I ended up carrying it in my backpack for a couple of weeks and never using it until I finally decided to leave it behind. I only used online resources to find all the information I needed, and it was enough.
Here are the websites and apps that I used:
Gronze.com: a great website for information regarding albergues and contact details. They usually update everything quite frequently. I used it when I needed alternatives on where to stay or a phone number to call an albergue and check availability.
Camino de Santiago forum: an amazing resource. The forum has threads on nearly anything, including updates from people walking in real-time. You can also ask questions there or see what others are asking.
Pilgrim.es: the website I used for planning the stages and getting info on accommodation. You can find many others out there, but I found this one very user-friendly and complete.
Camino Ninja: my go-to app for checking the stages, the distance between towns, directions, available accommodation options, and services.
Buen Camino: another great app, available for both iOS and Android. I used this app, along with Camino Ninja, to check stages, distances, and similar info. I found Camino Ninja more user-friendly, but I have to admit that Buen Camino had more information, for instance, regarding accommodation options. This app also gives you info such as altitude gain and accommodation ratings. I recommend downloading both and checking which works better for you.
A few more tips for walking Via de la Plata
Before wrapping this up, I wanted to give you a couple more tips based on my experience walking the Via de la Plata.
Always carry some cash
You’ll be able to pay by card in many places, but that may not be possible in some small villages. Also, albergues mostly take cash, and a few are donation-based, and there’s no way to donate by card. Make sure you always have at least 30/40 euros cash, just in case.
Start early, but not too early
I would start walking around 8 AM most of the time. Sometimes I even started later, but very few times did I start earlier. The Via de la Plata is not a race like the Camino Francés (based on what I heard). You’ll rarely have any trouble finding accommodation, so there’s no need to start walking super early unless you’re very slow.
I only recommend trying to get to your destination as early as possible during the last 100 kilometers, as it gets more crowded. Other than that, take your time and enjoy the walk.
Always have enough water
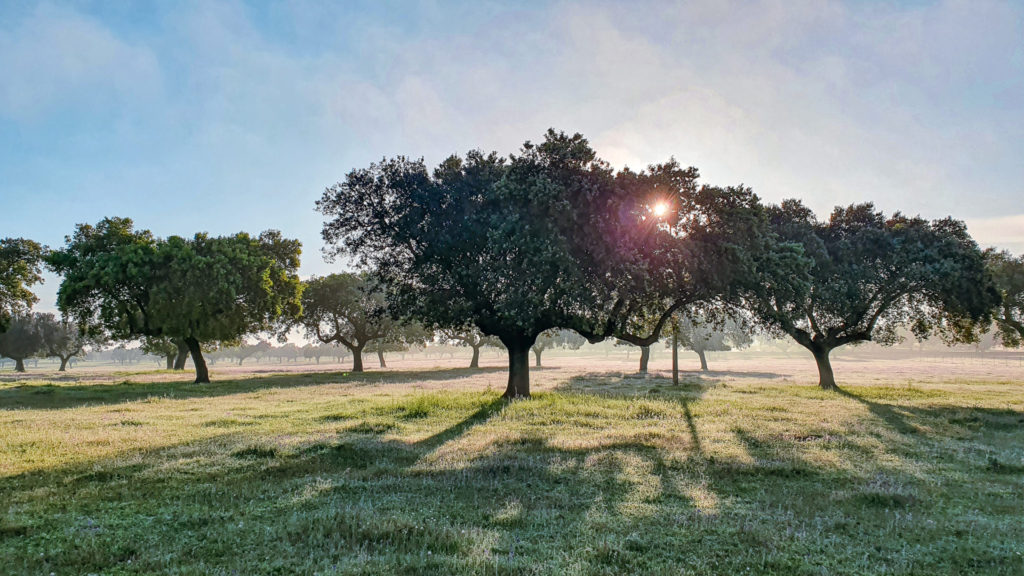
This is not to be underestimated. Many stages are very long, we’re talking up to 20 kilometers with absolutely nothing in between. Never forget to carry water. And whenever you stop for a break, if there’s a water source, refill your bottle. This is also the reason for my two water bottles that I mentioned above.
Allow yourself a shortcut if needed
I had to catch a bus a couple of times. One time it was pouring, another time I wasn’t feeling well, and on another occasion I needed to recover time to work. These things happen, so it’s okay to take a small shortcut when you need it. Don’t feel like that diminishes the value of your efforts and your Camino. As they say, everyone walks their own Camino.
Don’t forget the sellos, but don’t stress about them
Yes, getting your sellos is important, so try to get one per day. But don’t stress if at one stage you forgot it, or you stayed in an accommodation that didn’t have it. It’s okay. As long as you get a stamp on most days, you’ll get your Compostela.
Take breaks in the bigger cities
If you can afford it, I recommend spending two nights at least in Mérida, Salamanca, and Cáceres. I recommend this for two reasons. First, you want to explore these beautiful cities, and walking around for a few hours after a day’s walk just won’t do it.
Secondly, having a rest day now and then will do wonders. You get to rest your feet and back, relax, enjoy sleeping in, and slow down. I greatly appreciated these breaks, and I believe everyone should take them.
Choose the last part wisely
Before you reach Galicia, right after Granja de Moreruela, you must choose between walking the Camino Sanabrés and joining the French Way to Santiago. Choose this wisely. If you want to socialize more, you may consider joining the French Way to meet more people. If, on the other hand, you prefer to avoid big crowds, stay on the Camino Sanabrés.
The choice will depend entirely on you. Just know that you don’t need to decide at the beginning. Perhaps you’ll meet someone along the way and won’t want to separate. Or maybe you thought you would prefer the less crowded Sanabrés, but by the time you get there, you feel the need to be among people. You can have an idea, but you’ll decide when the time comes.
Allow some extra time
Walking the Via de la Plata can take between five and seven weeks, depending on your pace, how you divide the longer stages, and if you stop for rest days. It took me six weeks (exactly 42 days) from Sevilla to Santiago de Compostela.
Although you may start with an idea of how long it will take, make sure to allow yourself at least three or four extra days. You may decide to take more rest days, spend a few more days in Santiago, or continue to Fisterra. You don’t want to be rushing at the end.
Register for the Compostela
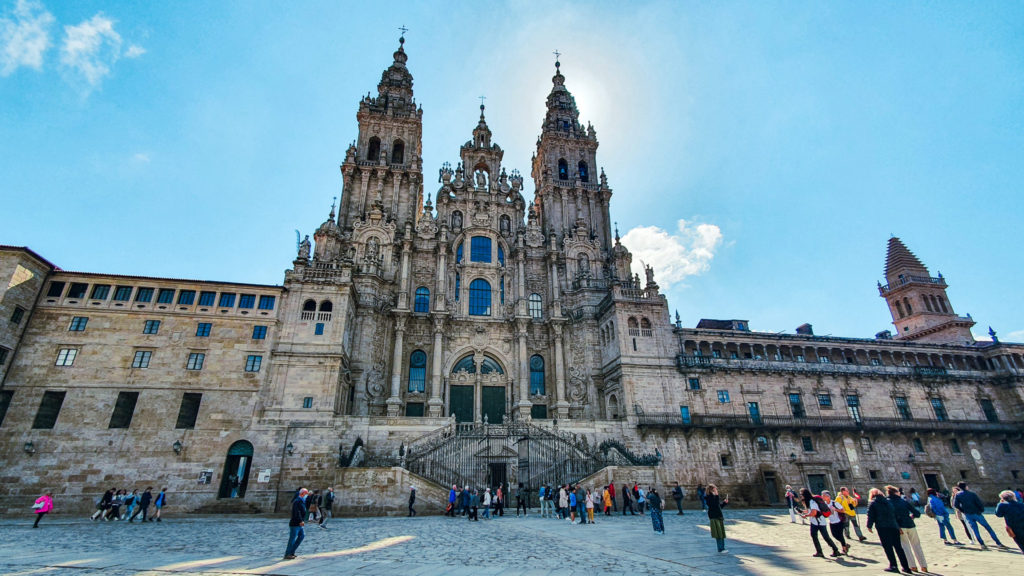
The process of obtaining the Compostela is now easier through online pre-registration. A couple of days before you reach Santiago, register online to get the Compostela.
With your registration, you can show up at the pilgrim’s office in Santiago de Compostela and get a number to obtain your Compostela. You only need to get in line when it’s almost your turn, and you can check the progress online as you wander around Santiago. It also helps to arrive relatively early in Santiago de Compostela, so try to aim for a short day for your last stage.
Aside from the Compostela, which is free, you can also get a certificate of distance for a small cost of €3.
Final words: Embrace it all
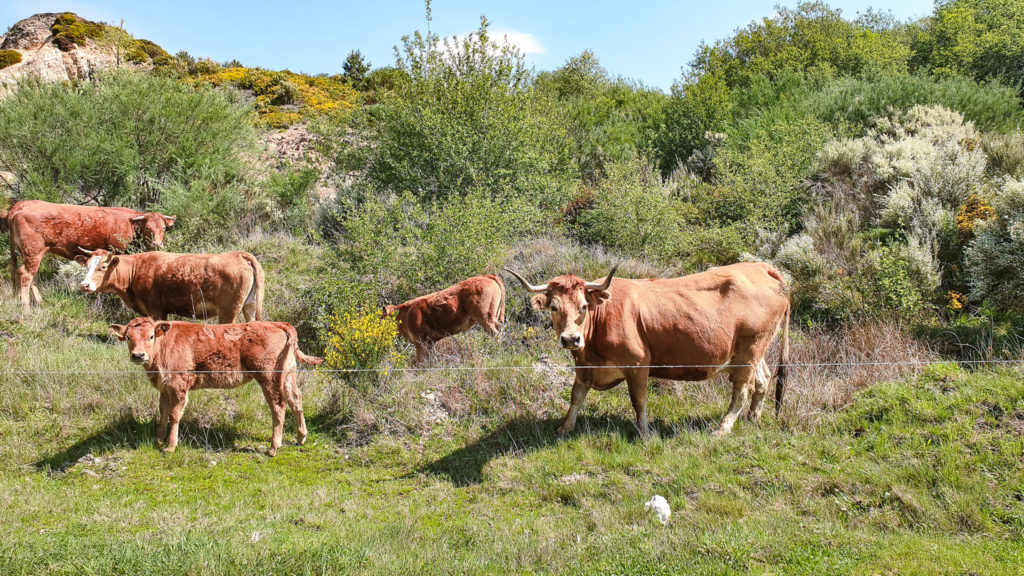
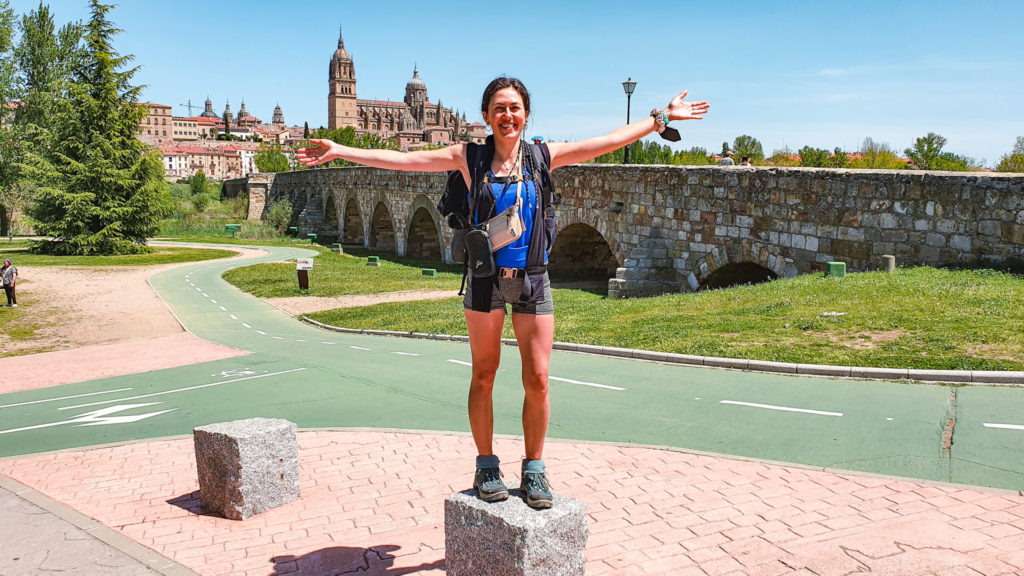
The excitement of the beginning, the pain, the exhaustion, the joy at the end of each stage, the unexpected circumstances, the relief when you see your destination for the day in the distance, the beautiful landscapes, the cows staring at you as you walk by, the fear of the unknown, the warmth of a meal at the end of a long day, the bitterness of a bad coffee at the beginning of the day, the sun, the rain, the cold, and the warmth.
Embrace everything, as it’s all part of an amazing journey you’ll never forget. Trust me; the pain fades in your memories, but the satisfaction of walking with that pain never goes away. In the end, you’ll remember all the good memories, the people, the landscapes, the sunsets, and the sunrises. So embrace it all, every step of your way.
Travel Resources
Throughout this article, I mentioned and linked to several useful resources to plan your Via de la Plata. Here is a complete list, including a few more I always use when traveling.
| Website/App | Category | Description | Book Here |
|---|---|---|---|
| Booking.com | Accommodation | My favorite website for great accommodations for different budgets. | Find a Place |
| Kiwi.com | Flights | My new favorite platform for finding affordable flights. | Find Flights |
| Omio | Transportation | You can book everything from buses and trains to ferry rides. | Transportation |
| SafetyWing | Insurance | One of the best travel medical insurances for frequent travelers. | Get Insured |
| Manawa | Activities | A great platform to book activities and adventures with local hosts. | Find Activities |
| GetYourGuide | Activities | My go-to platform for tours and experiences with lots of options. | Experiences |
| Viator | Activities | A great alternative for activities all over the world. | Experiences |
| GuruWalk | Free tours | A great platform for free walking tours (tipping is recommended). | Book a tour |
| DiscoverCars | Car rental | My go-to platform for car rental anywhere in the world. | Rent a Car |
| Airalo | eSIM | My favorite app for buying digital SIM cards when traveling abroad. | Get an eSIM |
| Saily | eSIM | A great alternative to Airalo, with cheaper plans in some destinations. | Get an eSIM |
| Xe | Currency | A currency converter showing real-time rates. Website or app. | Get Xe App |
| Maps.me | Navigation | My favorite navigation app for hiking trails and remote areas. | Get Maps |
I hope this guide is useful and as exhaustive as possible. If I forgot anything or you have any other tips, share them in the comments!
Buen Camino!


Olá Roxana !
Parabéns pelo relato detalhado do caminho.
Estou interessada nesta rota.
Sou peregrina experiente, mas…. Não sou jovem.
Por isso procuro dividir etapas muito longas.
Dependendo do terreno, relevo e altimetria, eu calculo minhas etapas, mais ou menos quilometragem.
O problema maior, é saber onde tem local de pernoite.
Gosto de pesquisar no GRONZE.
É um ótimo site.
Vou verificar os outros que vc indicou.
Parabéns e abraço peregrino.
Juju
Olá Juju! Obrigada pelo seu comentário. Fico feliz por saber que está interessada nesta rota, é tão bonita! Penso que se pode dividir a maioria das etapas mais longas, mas, na verdade, algumas são um pouco complicadas. Espero que o meu guia seja útil e que as aplicações e sites que recomendo também ajudem. Entre em contacto comigo se precisar de algum conselho específico! Bom Caminho!